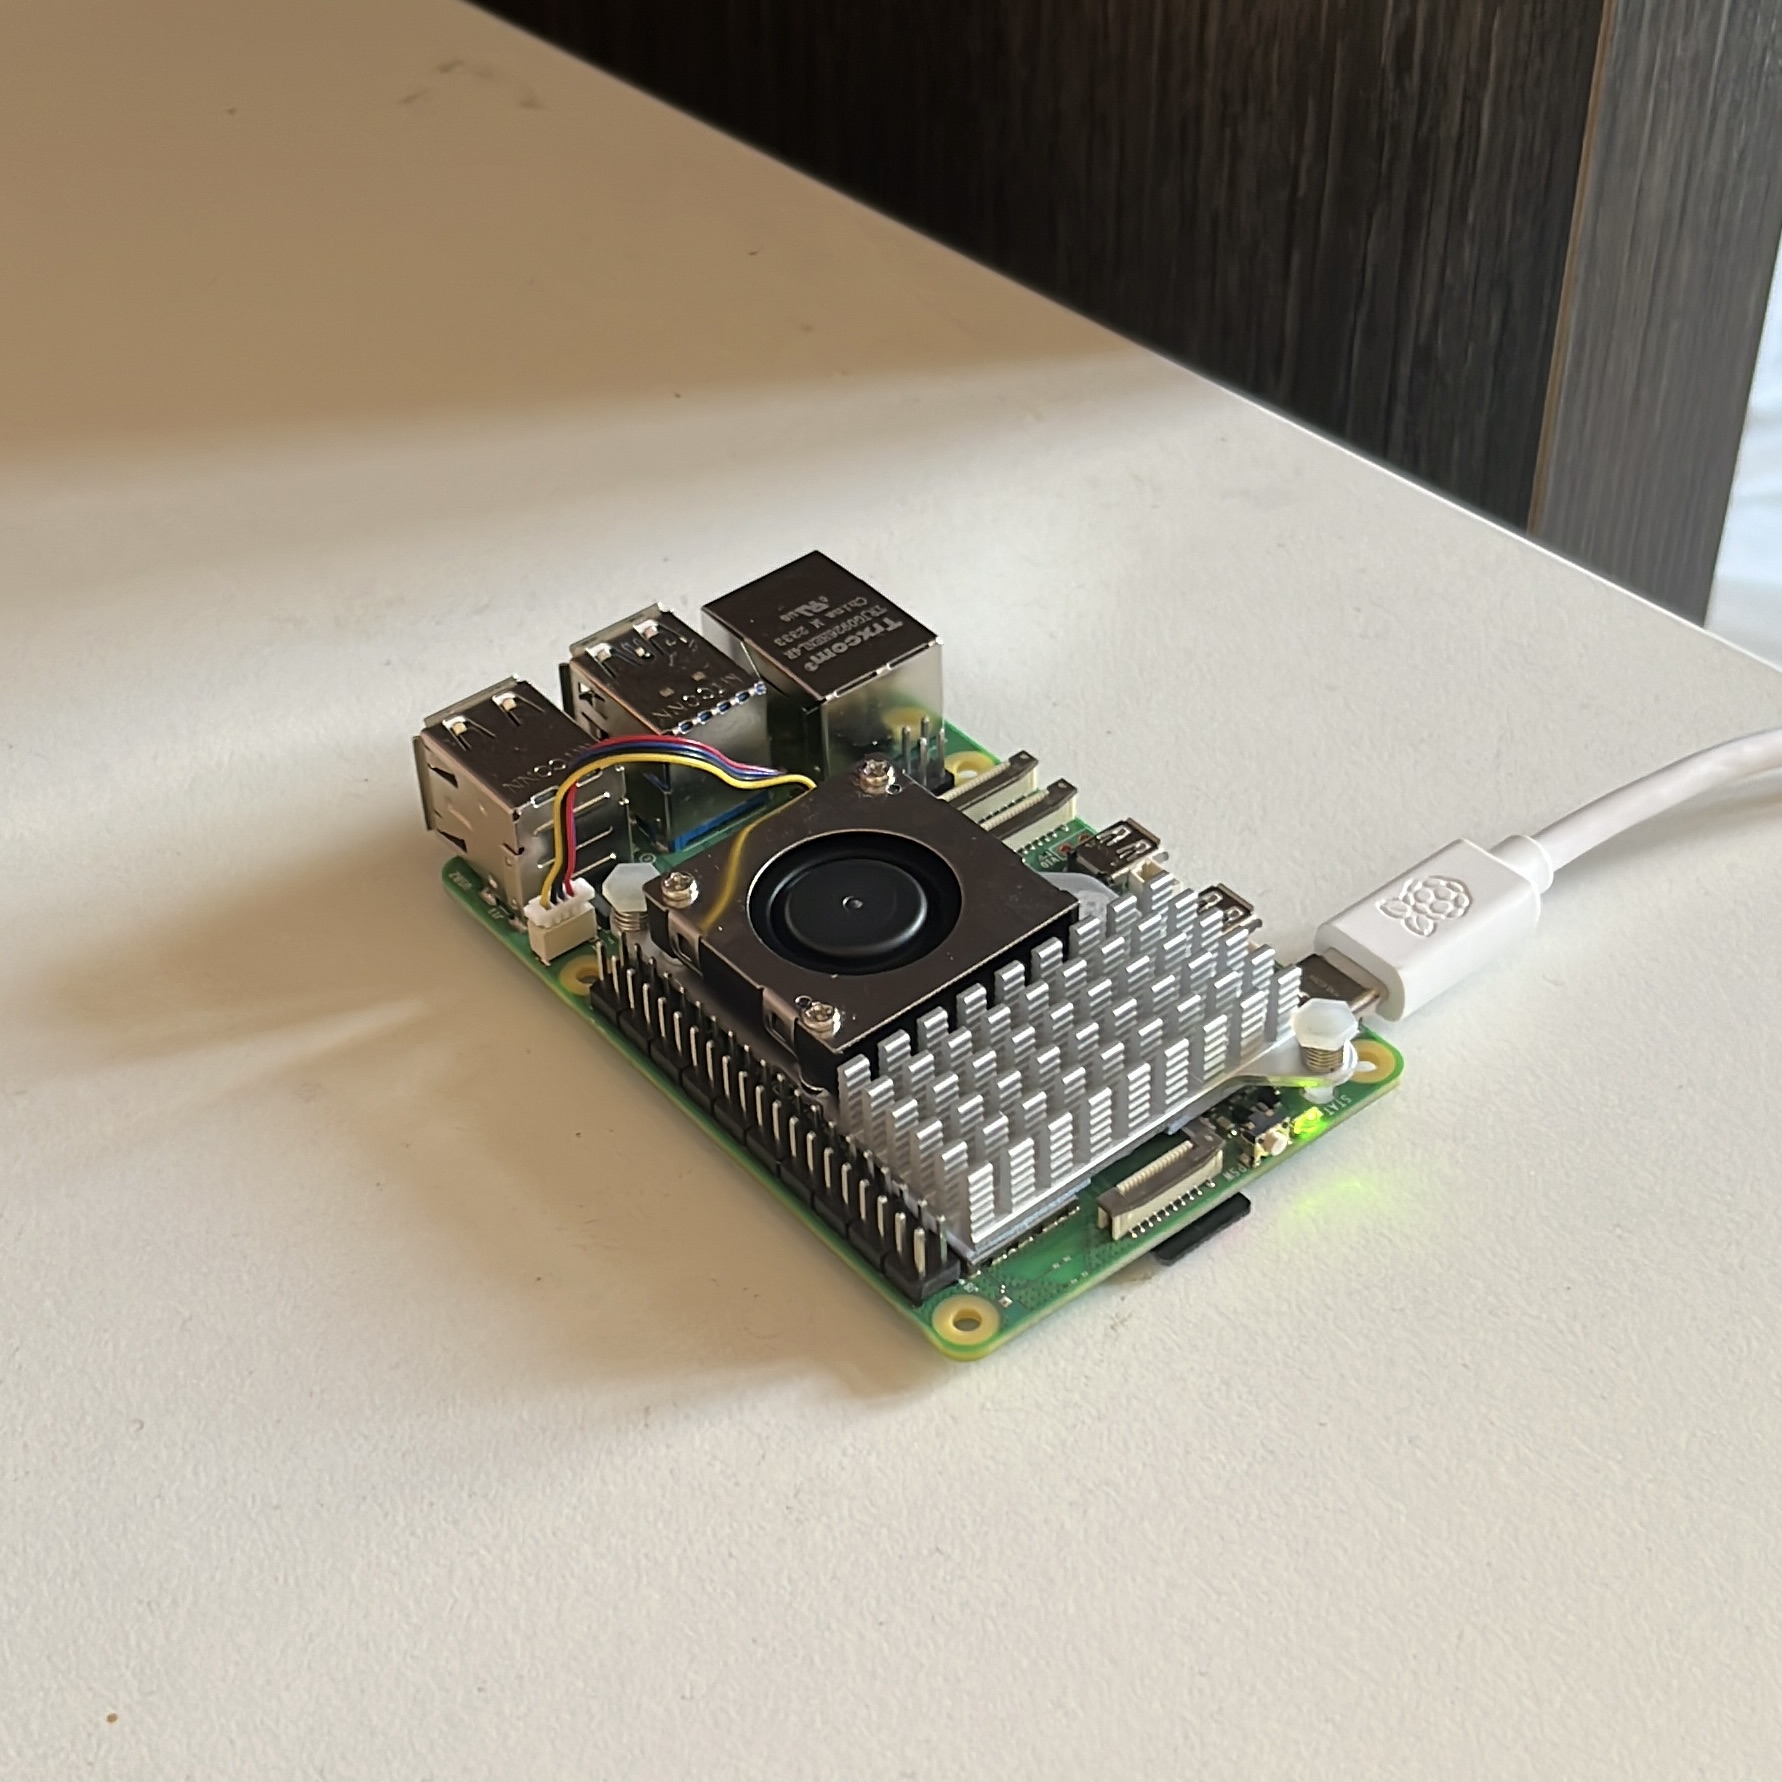
I bought a Raspberry Pi 5 and decided to set up a tiny home server.
Raspberry Pi 5
The Raspberry Pi 5 is a single-board computer developed by the Raspberry Pi Foundation. It is the successor to the Raspberry Pi 4 and offers improved performance and connectivity options.
Cute right?
Server Setup
I installed the latest version of Raspberry Pi OS. It is running Debian-based Linux and is optimized for the Raspberry Pi hardware.
Pi-hole
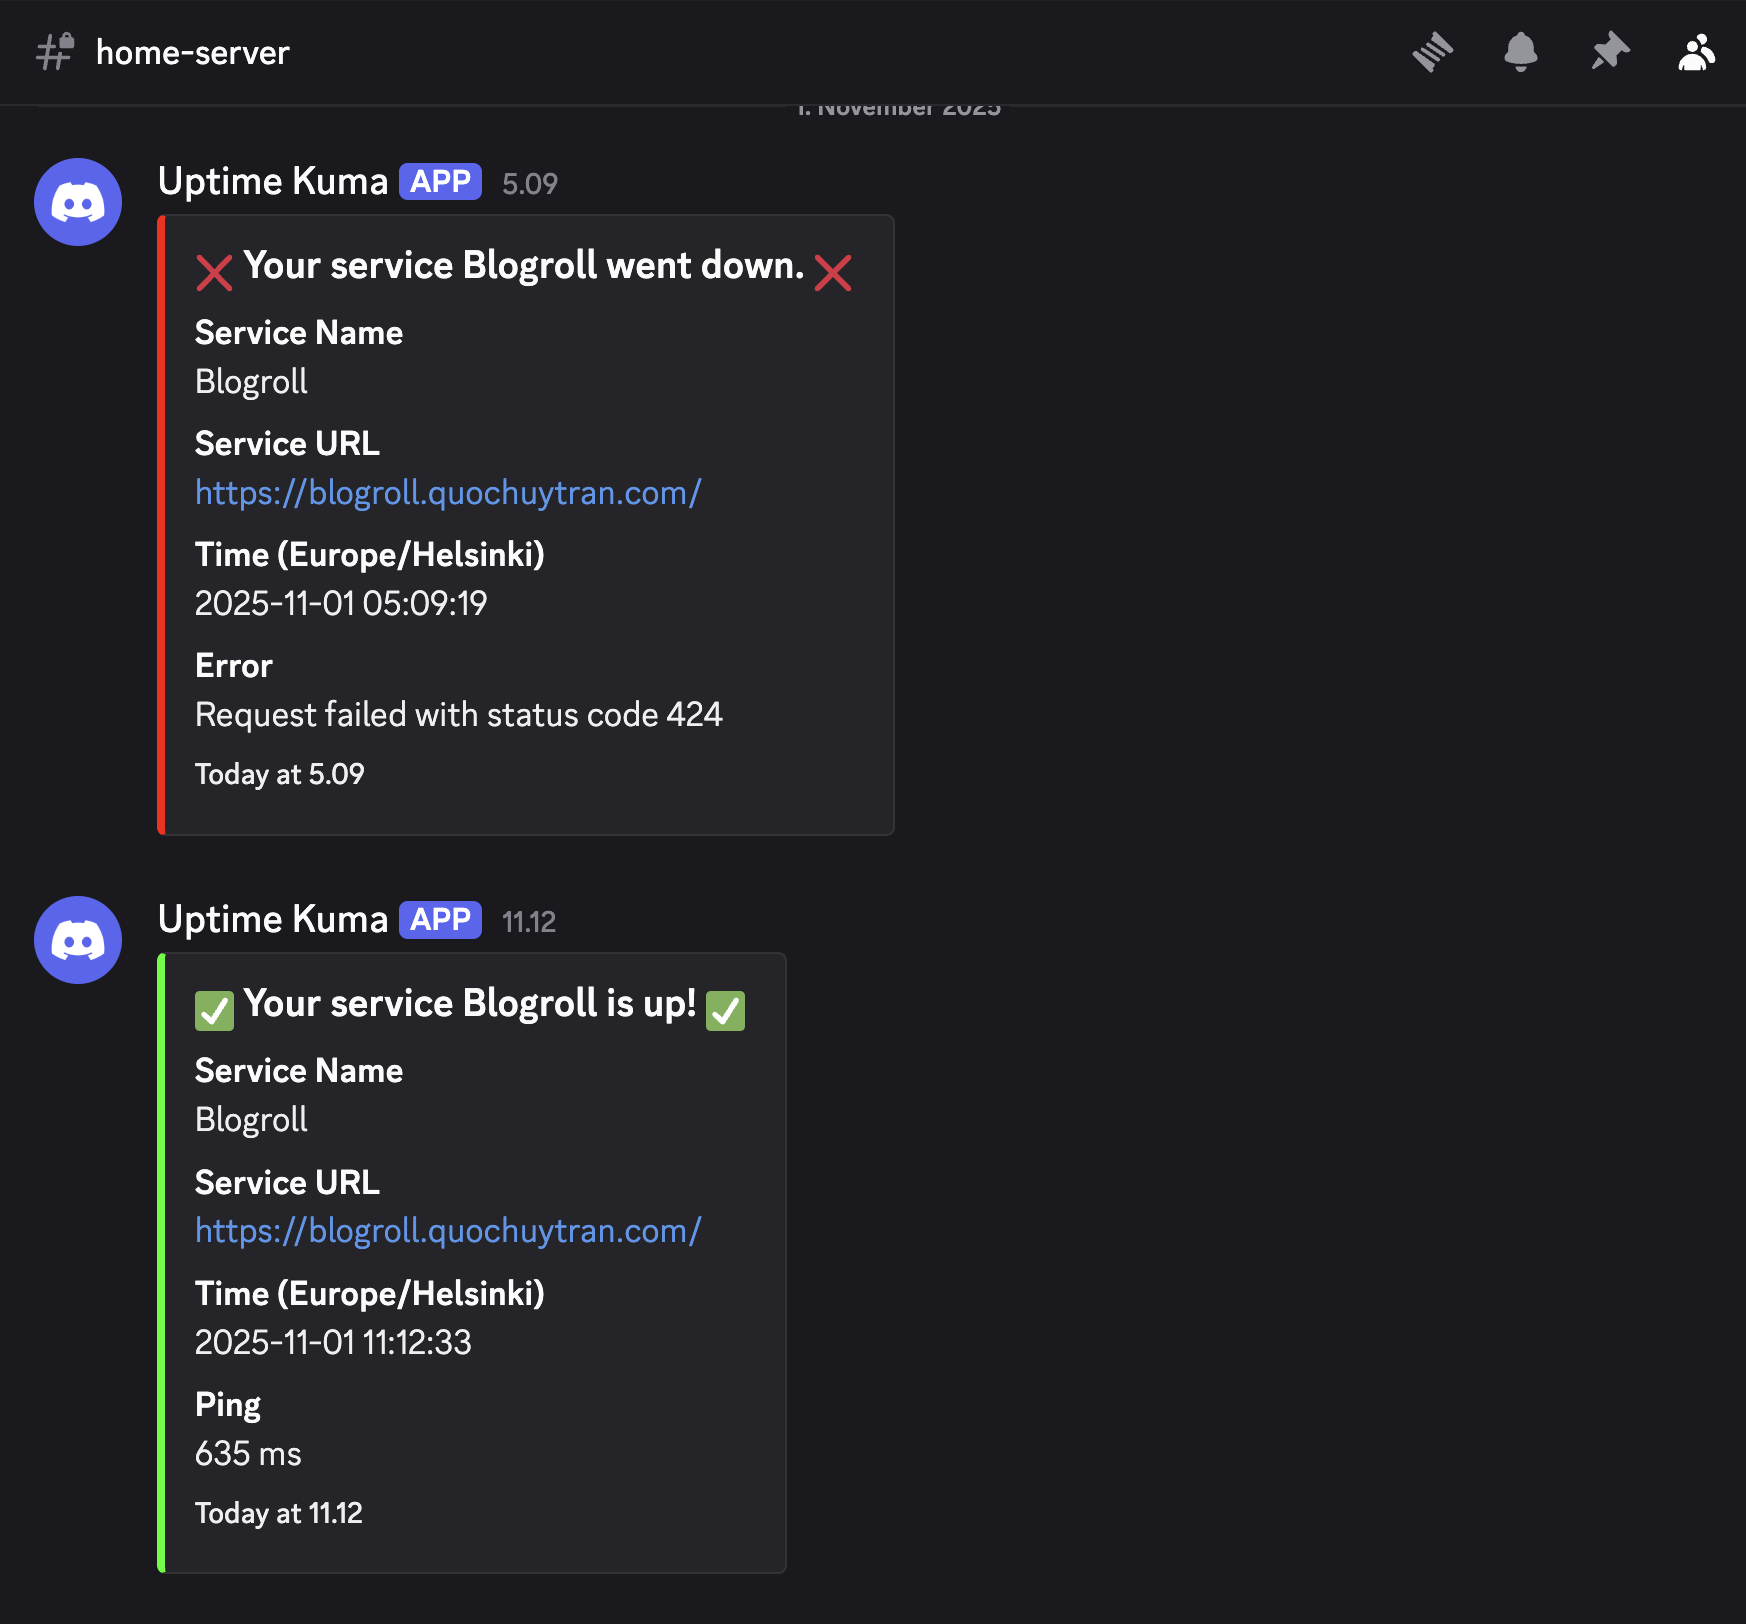
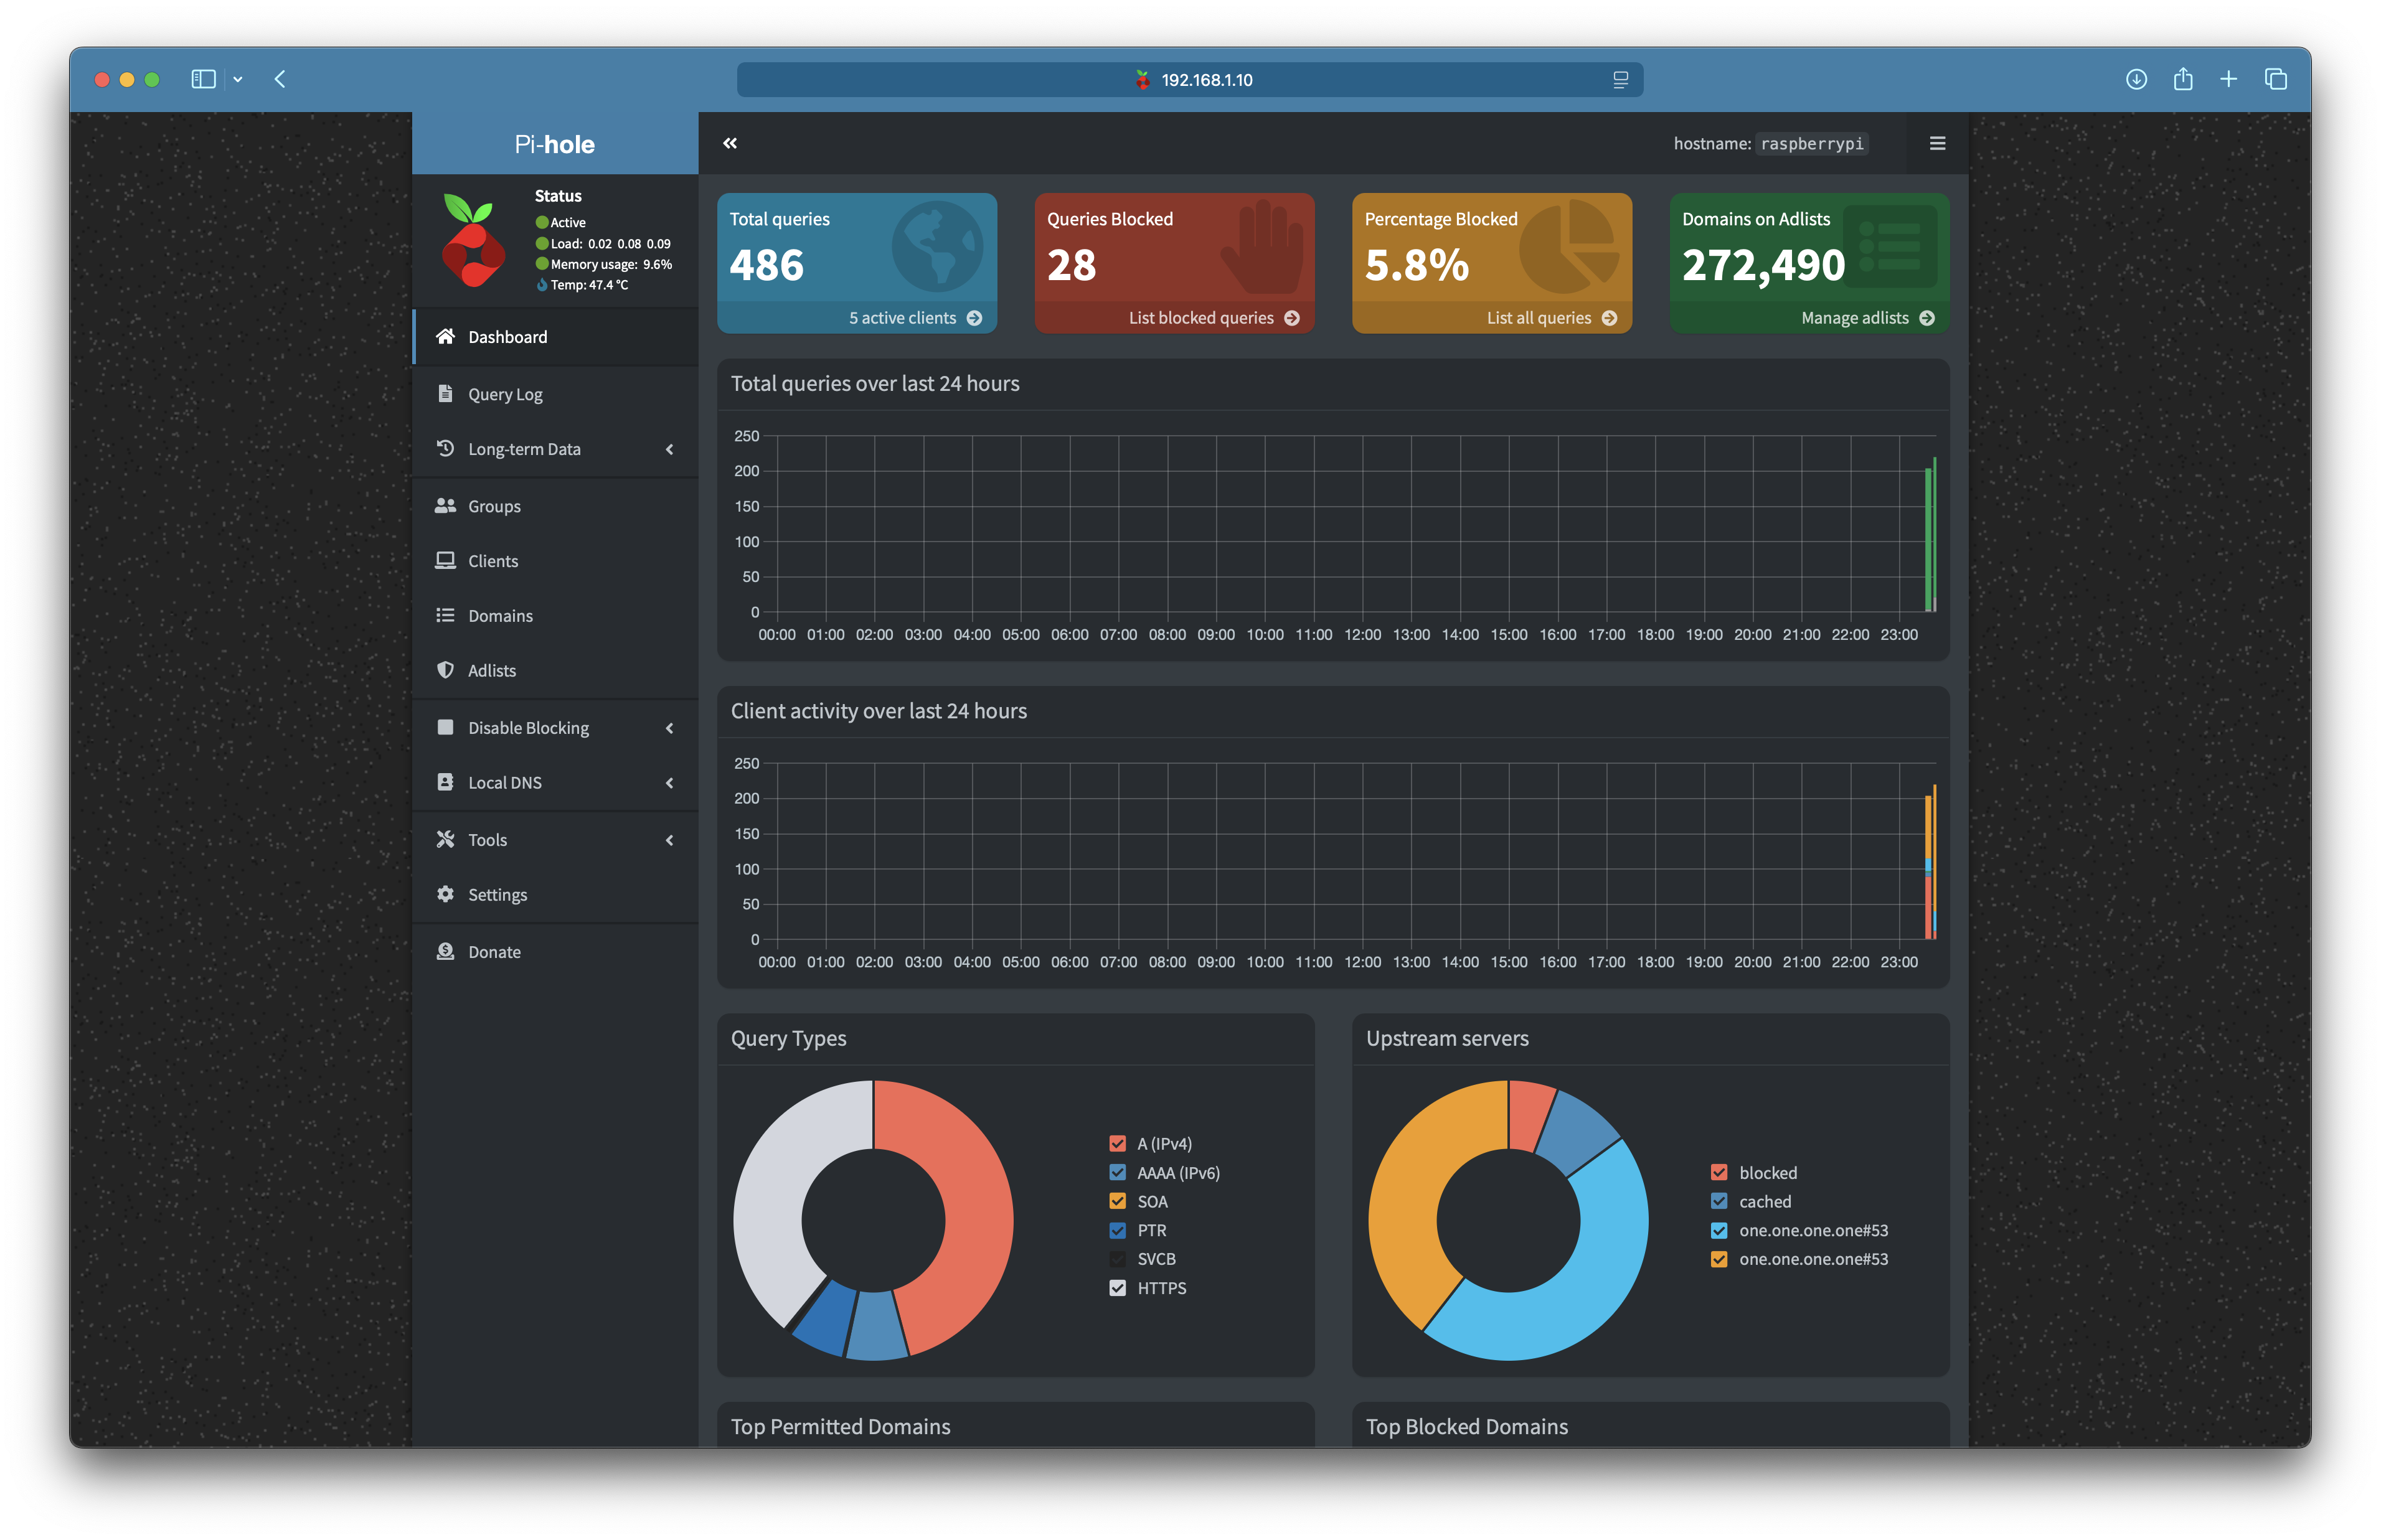
Pi-hole is truly miraculous. It is a network-wide ad blocker that improves your browsing experience by blocking ads, trackers, and malware at the DNS level. I installed Pi-hole on my Raspberry Pi to block ads on all devices connected to my home network. I had some difficulty with the router from my ISP, it looks like it does not have any options at all, poorly designed.
Fortunately, I found an extra router at home and set it up as a bridge to my ISP router. I configured the new router to use Pi-hole as the primary DNS server. Now, all devices connected to my home network are benefiting from ad blocking.
If you want to set up your own and struggling with static IP, you can follow this guide.
PiVPN
I tried to setup PiVPN to access my home network securely from anywhere. Unfortunately, seems like my router is outdated and not supporting port forwarding. I will have to upgrade my router to make it work.
Note: I will update this post once I have something new to share about my tiny home server setup.
Forgejo and Forgejo Actions
Using Forgejo Actions (Self-hosted)
Due to the security issues and lack of maintainers, Codeberg does not offer CI itself. I will try to setup Forgejo Actions using my Raspberry Pi to run.
Initial setup
Refer to the official document Forgejo Runner installation guide. Most of the self-hosted on my Raspberry Pi is running in Docker, using Docker Compose.
First prepare a data directory with non-root permissions (in this case, we pick 1001:1001):
Execute the script bash setup.sh, and then create a docker-compose.yml:
version: '3.8'services: docker-in-docker: image: docker:dind container_name: 'docker_dind' privileged: 'true' # Required for DinD to function properly command: ['dockerd', '-H', 'tcp://0.0.0.0:2375', '--tls=false'] restart: 'unless-stopped' runner: image: 'data.forgejo.org/forgejo/runner:11' links: - docker-in-docker depends_on: docker-in-docker: condition: service_started container_name: 'runner' environment: DOCKER_HOST: tcp://docker-in-docker:2375 # User without root privileges, but with access to `./data`. user: 1001:1001 volumes: - ./data:/data restart: 'unless-stopped' command: '/bin/sh -c "while : ; do sleep 1 ; done ;"'
This setup creates 2 containers:
docker-in-docker: A Docker daemon running inside a container
privileged: true gives the container elevated permissions needed for Docker operations
Listens on TCP port 2375 without TLS (simplified setup)
runner: The Forgejo Actions runner that connects to the Docker daemon
The runner connects to the Docker daemon via DOCKER_HOST
Uses user ID 1001 for better security (non-root)
Persists data in ./data directory on your host
The purpose of this is to help create isolated job containers for each workflow execution.
Now run docker compose up -d and then enter the container environment with docker exec -it runner /bin/sh
In this shell, run the forgejo-runner register command, but there are some details that need clarification. For the Forgejo instance URL, enter https://codeberg.org/, and the runner token can be acquired from Codeberg's User settings -> Actions -> Runners -> Create new runner.
$ forgejo-runner registerINFO Registering runner, arch=arm64, os=linux, version=v9.0.3.WARN Runner in user-mode.INFO Enter the Forgejo instance URL (for example, https://next.forgejo.org/):https://codeberg.org/INFO Enter the runner token:6om01axzegBu98YCpsFtda4Go2DuJe7BEepzz2F3HYINFO Enter the runner name (if set empty, use hostname: runner-host):my-forgejo-runnerINFO Enter the runner labels, leave blank to use the default labels (comma-separated, for example, ubuntu-20.04:docker://node:20-bookworm,ubuntu-18.04:docker://node:20-bookworm):INFO Registering runner, name=my-forgejo-runner, instance=https://code.forgejo.org/, labels=[docker:docker://node:20-bookworm].DEBU Successfully pinged the Forgejo instance serverINFO Runner registered successfully.
This process will create a .runner file under data/ directory:
{ "WARNING": "This file is automatically generated by act-runner. Do not edit it manually unless you know what you are doing. Removing this file will cause act runner to re-register as a new runner.", "id": 42, "uuid": "d2ax6368-9c20-4dy0-9a5a-e09c53854zb5", "name": "my-forgejo-runner", "token": "864e6019009e1635d98adf3935b305d32494d42a", "address": "https://codeberg.org/", "labels": ["docker:docker://node:20-bookworm"]}
After that is done, take the service down again with docker compose down and modify the command inside the docker-compose.yml to:
.png)